
This is a project in the Advanced graphics and interaction course in the VIC Studio at KTH.
Goal and motivation of the project
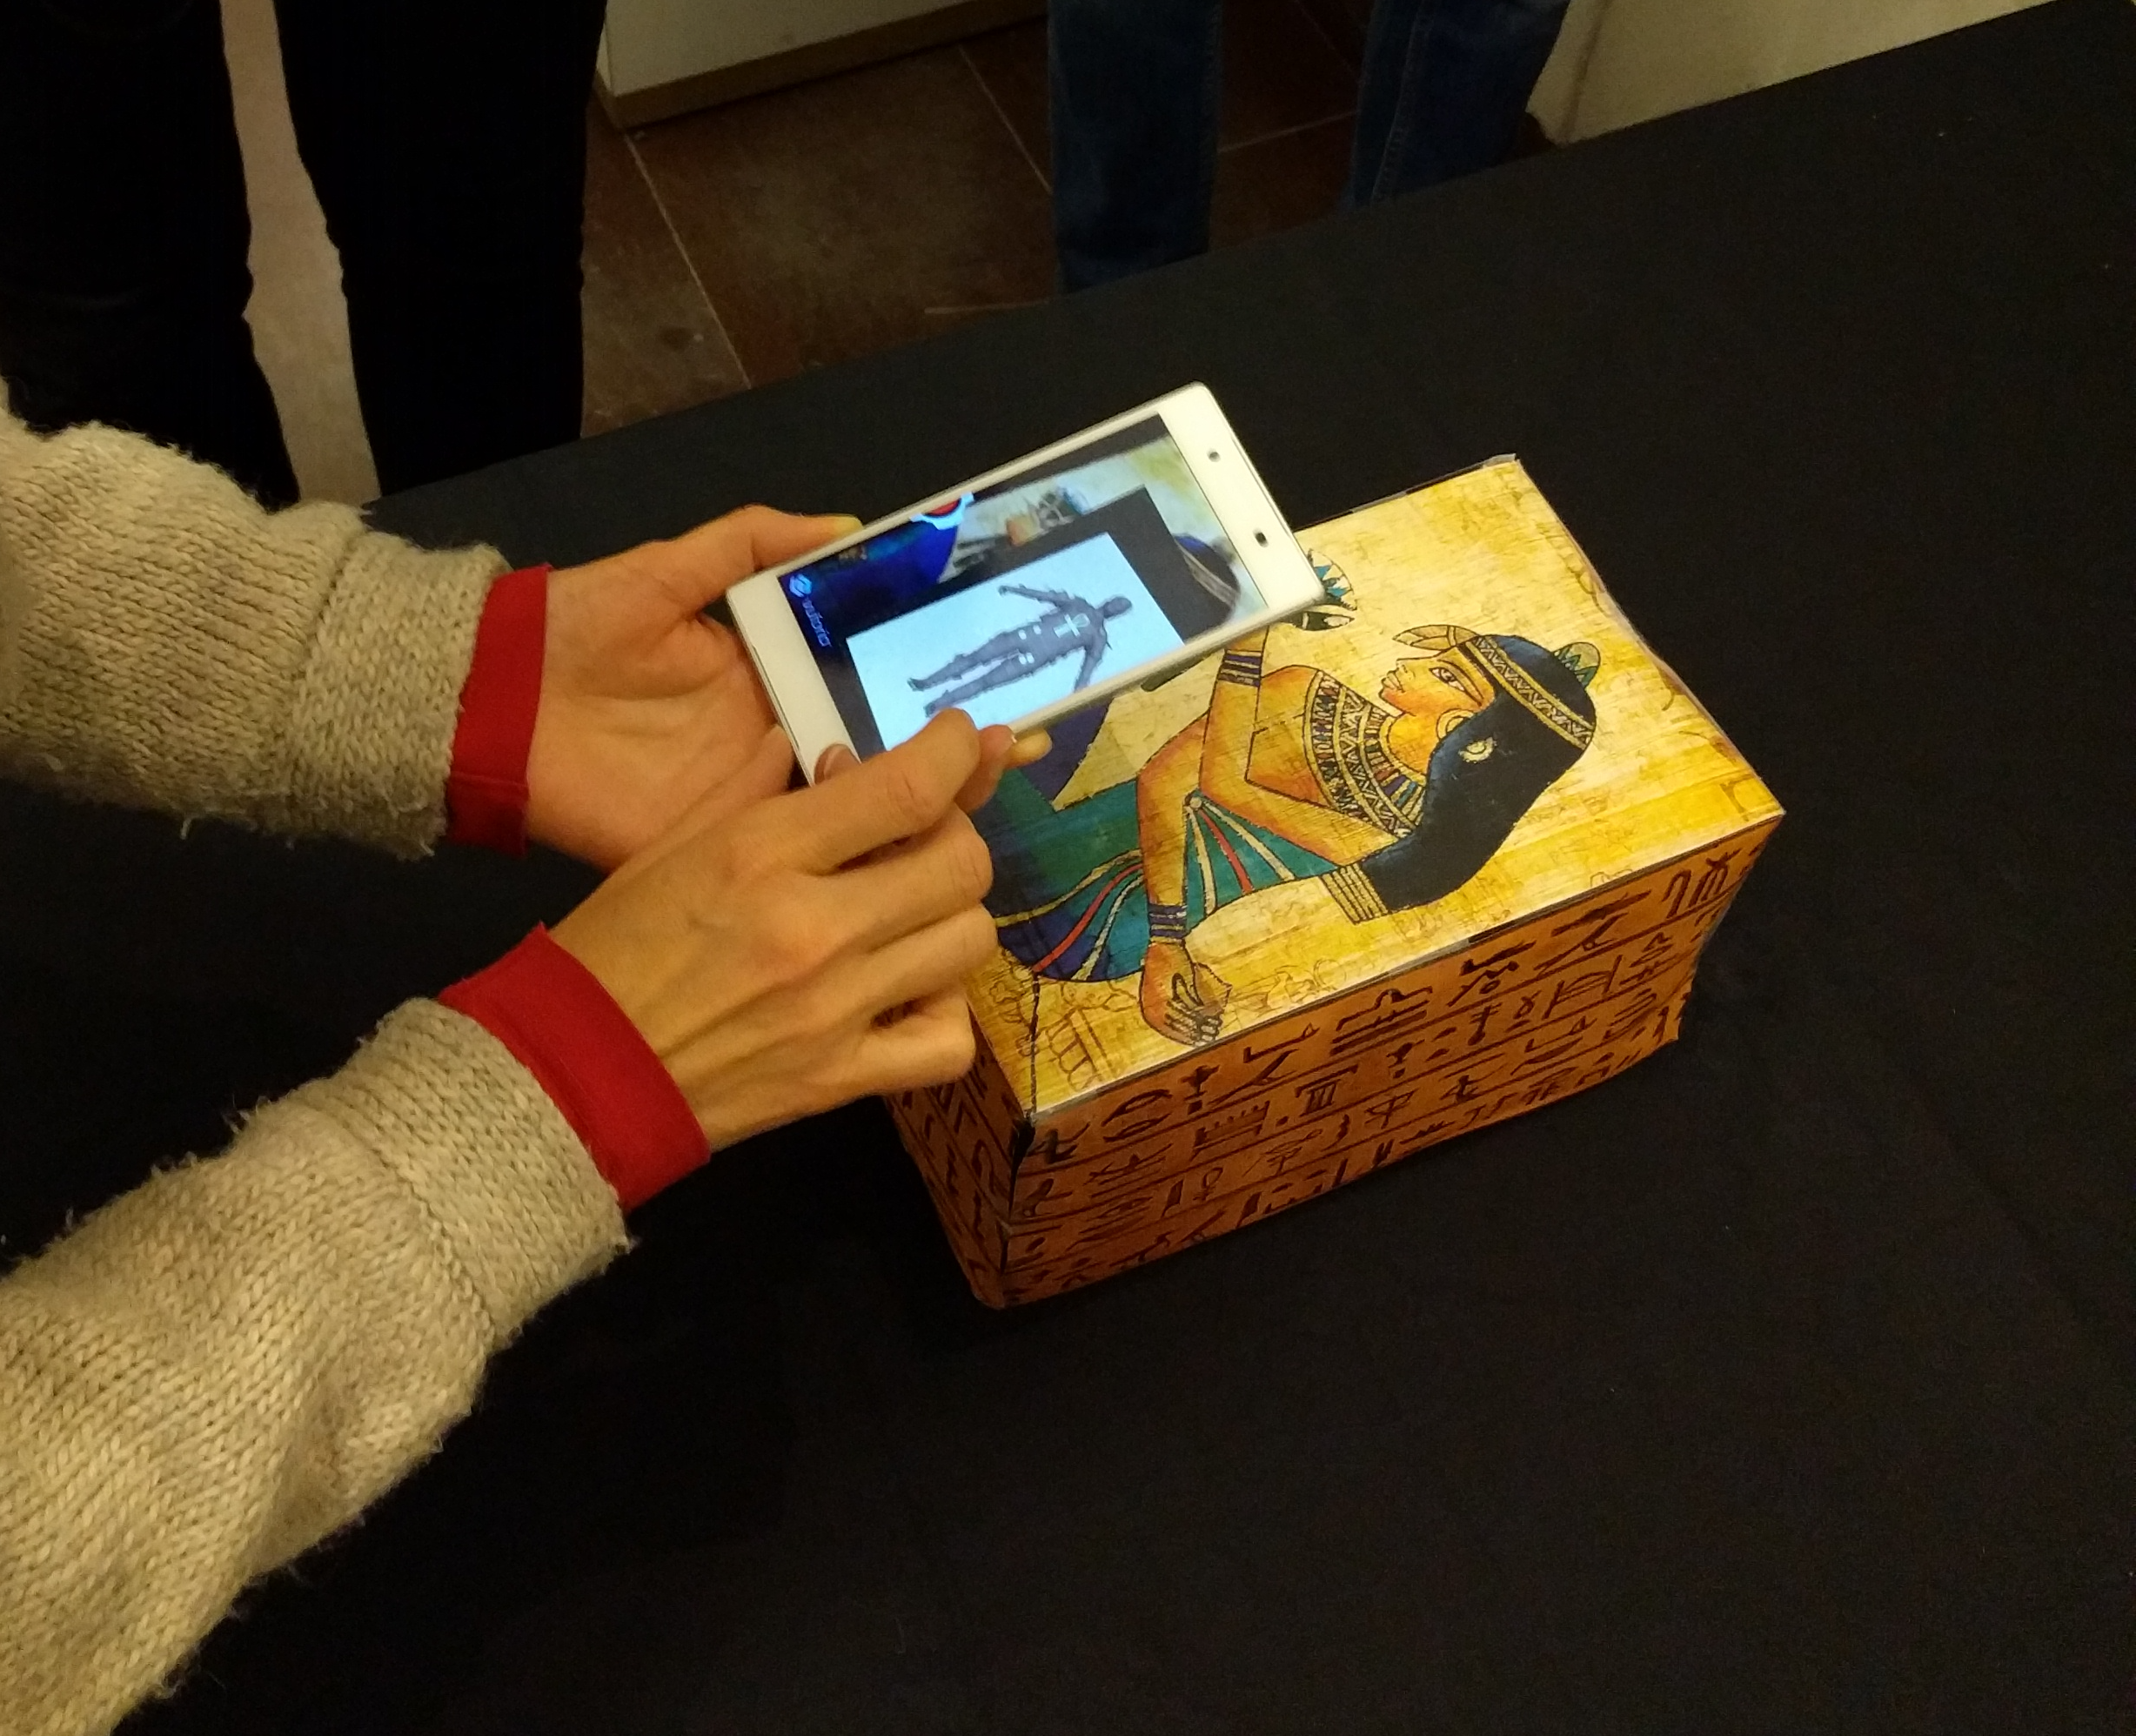
We wanted to experiment with modifying the percieved reality when exploring objects that are not fully accessible, and we choose to create the equivalent of "See but not touch, level 2". Using the app, you get the possibility to take a closer look at a modifyed reality through the camera of a phone in real time. One of the many interests of making sARkofag was the visualization of learning aspect, where the app can be used for educational purposes, for examples in museums.
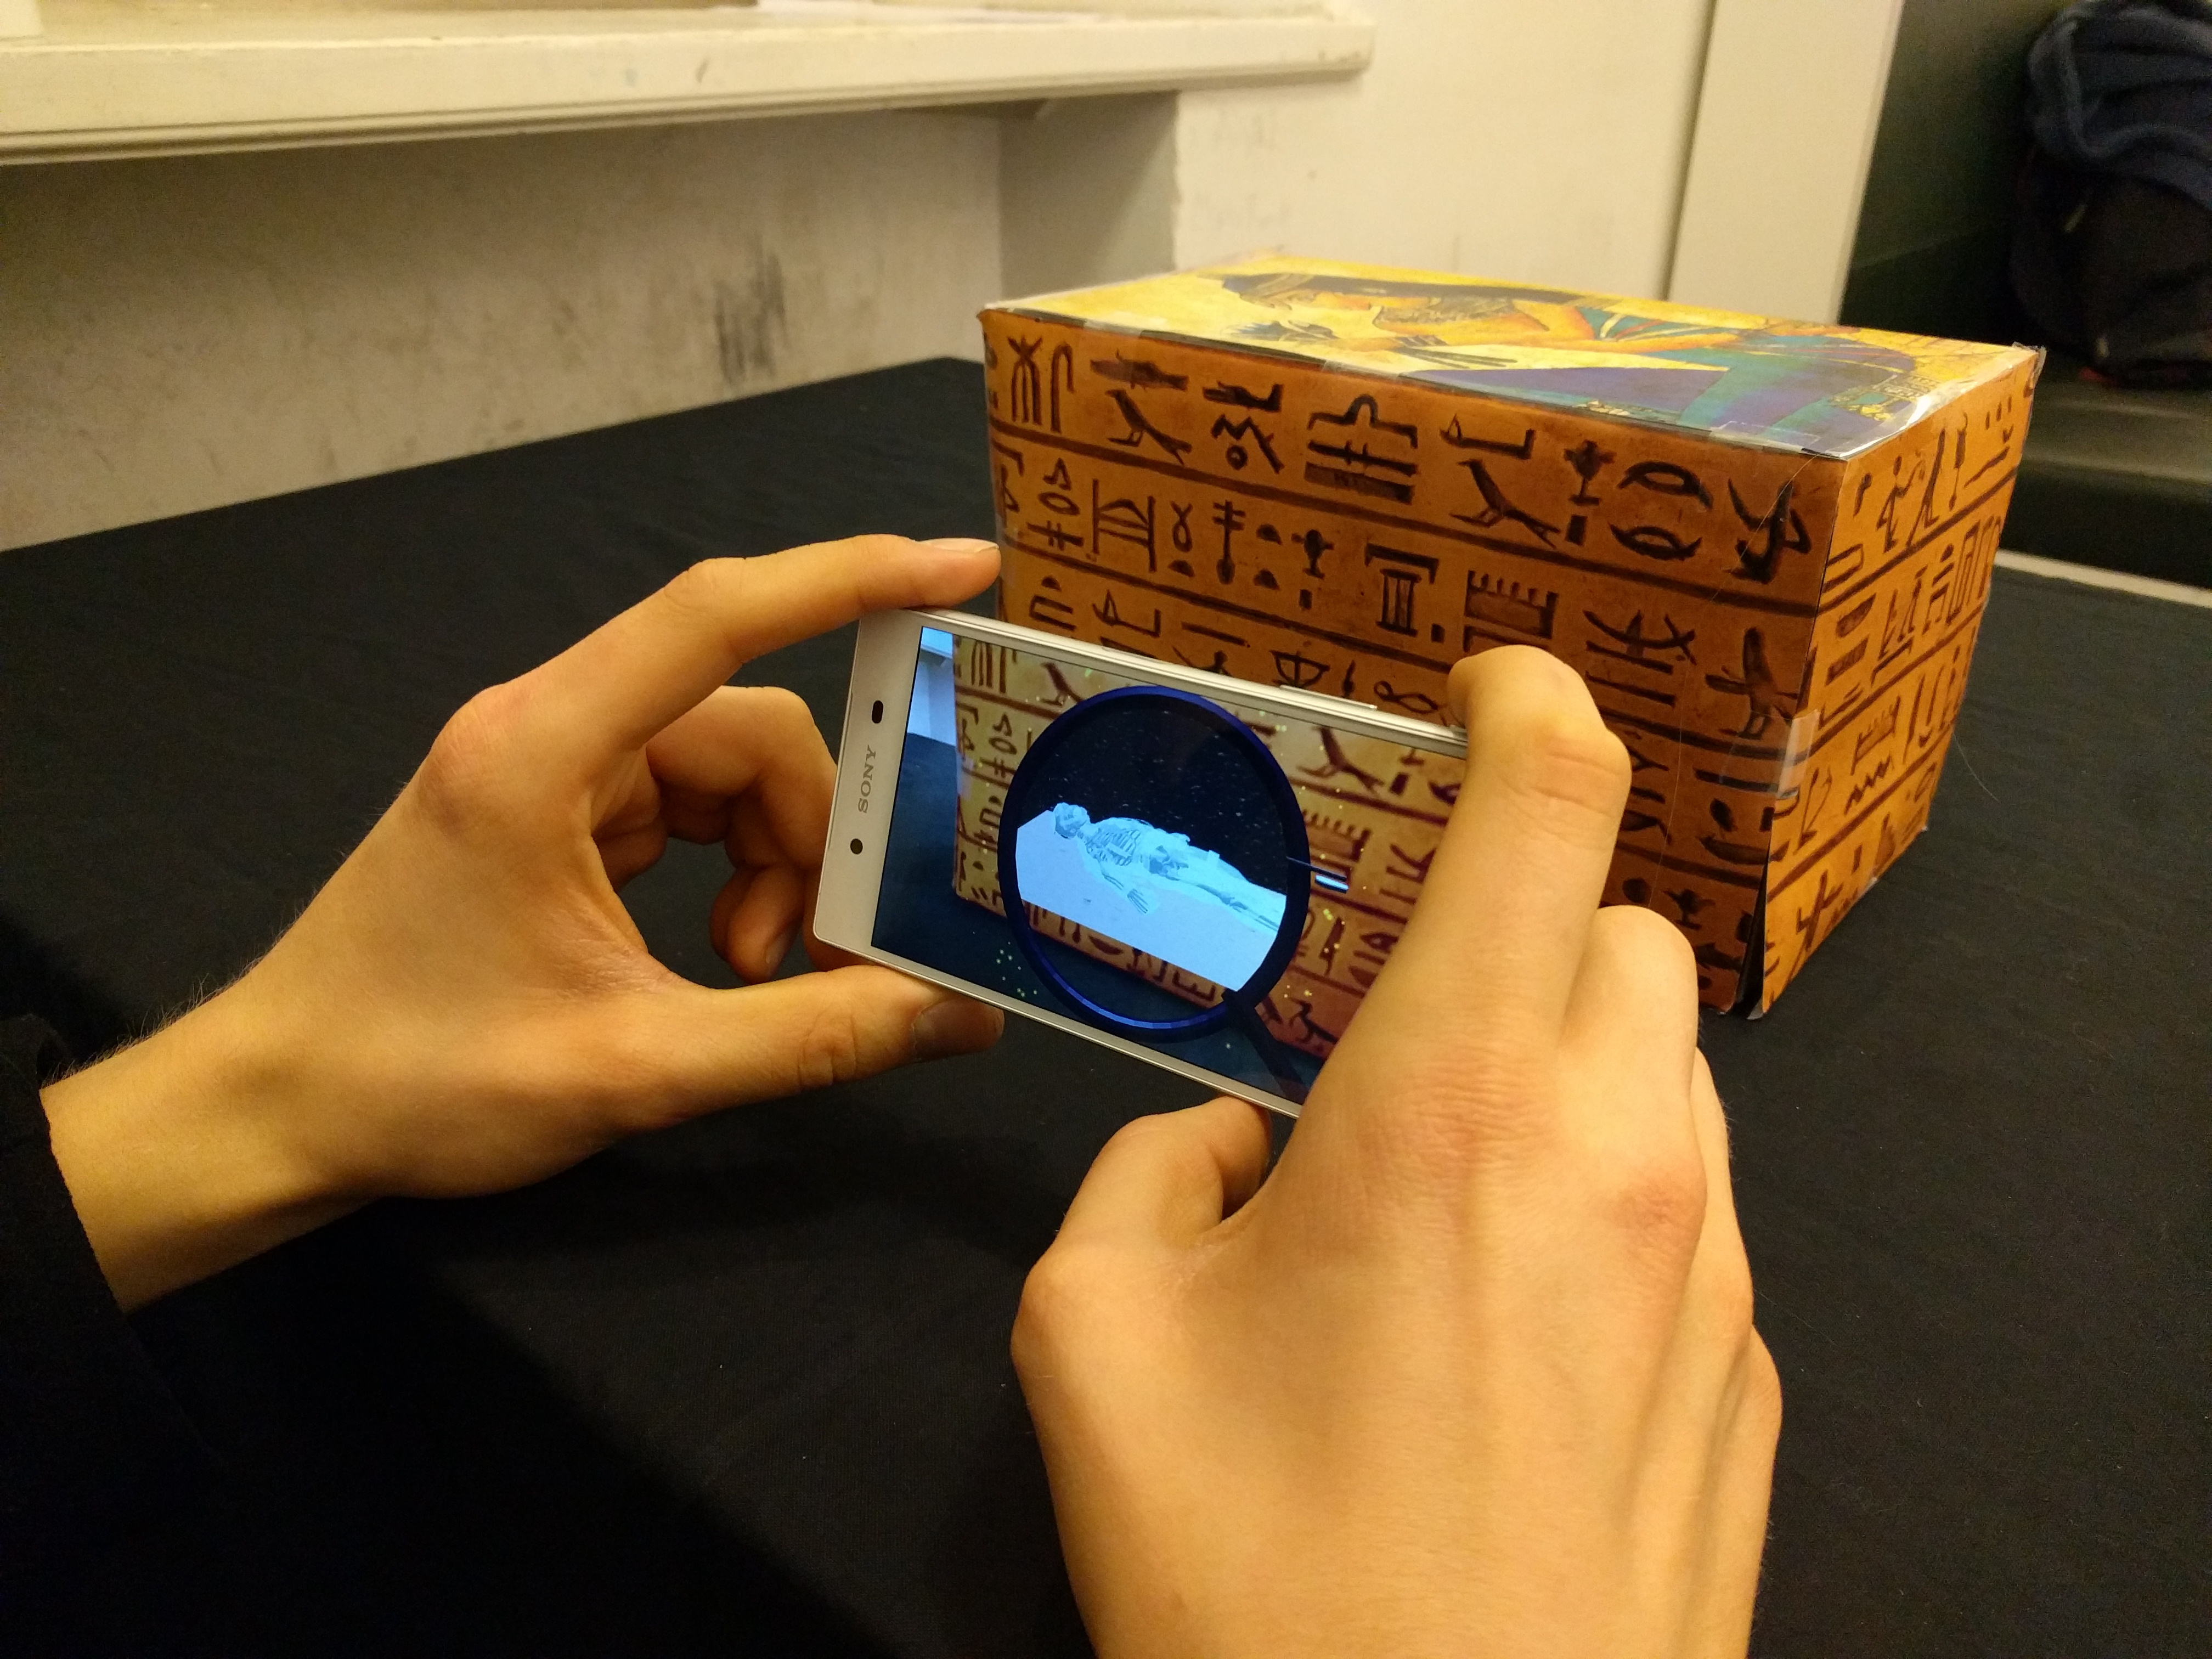
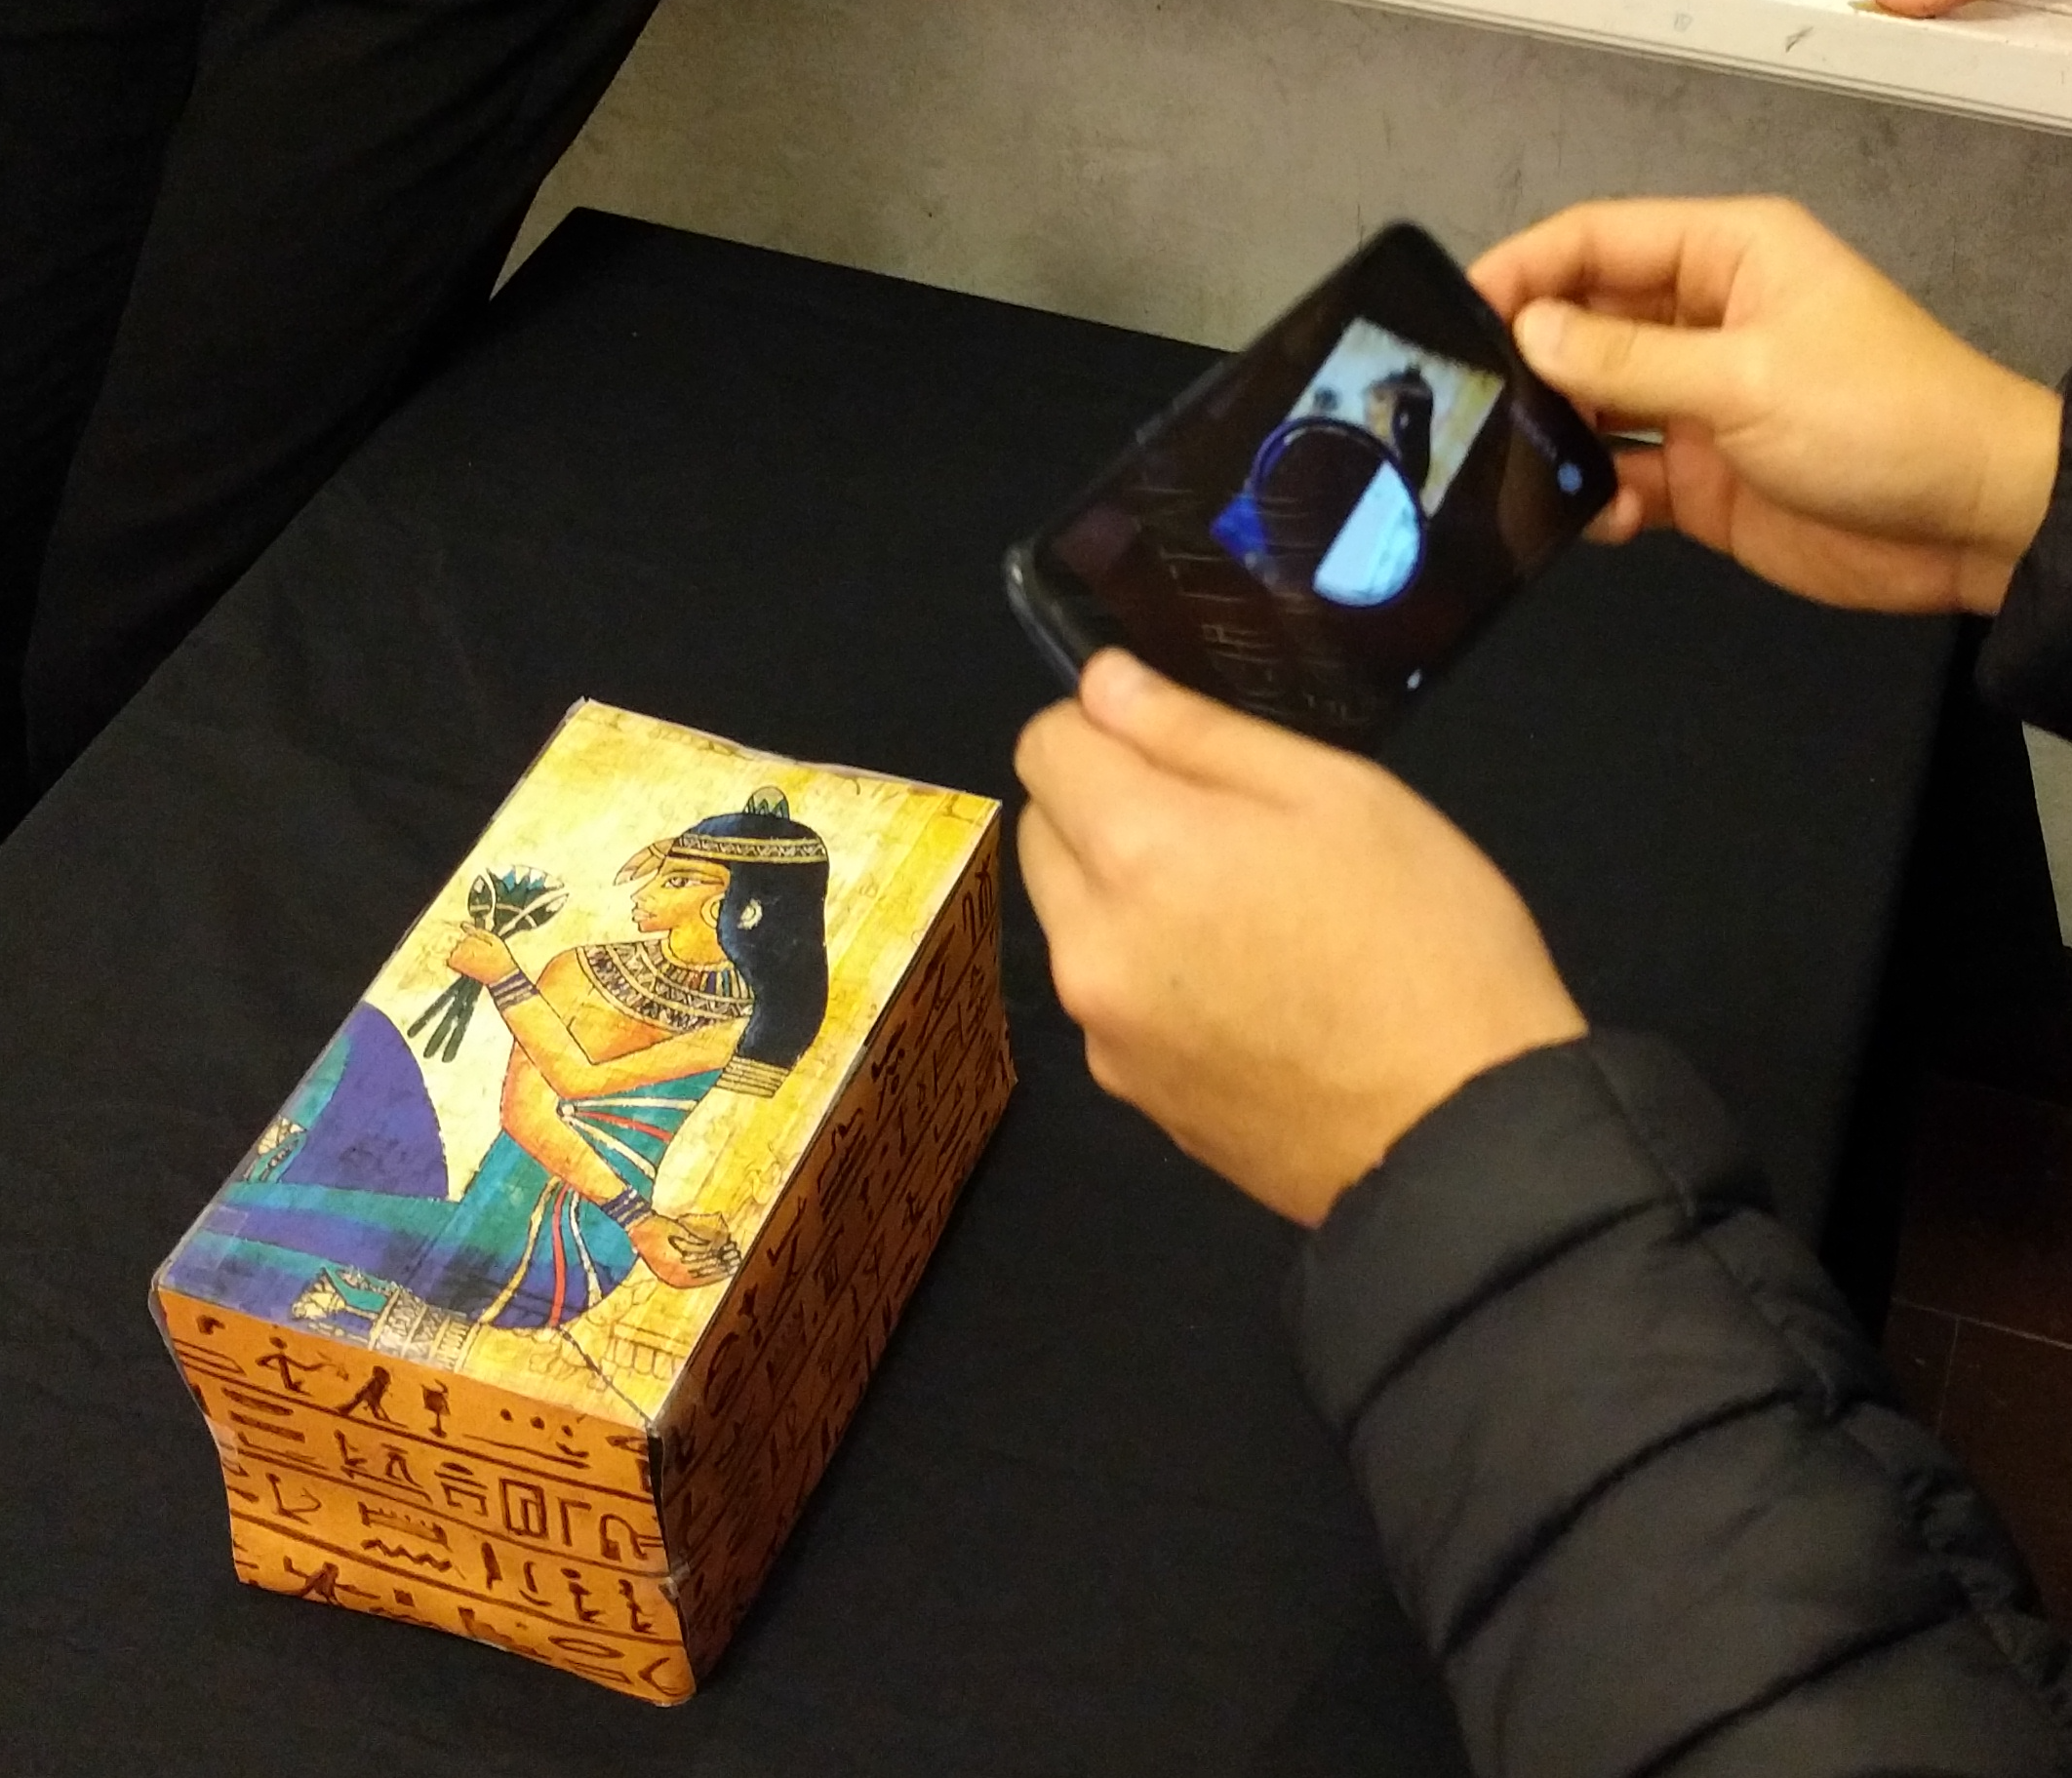
The application consists of two parst: The tracker box and the program run on an Android phone. The box is used as the tracker and the phone is our AR looking glass with extended X-Ray vision which is used when exploring what is inside the box.
Technology
Graphics and Interaction
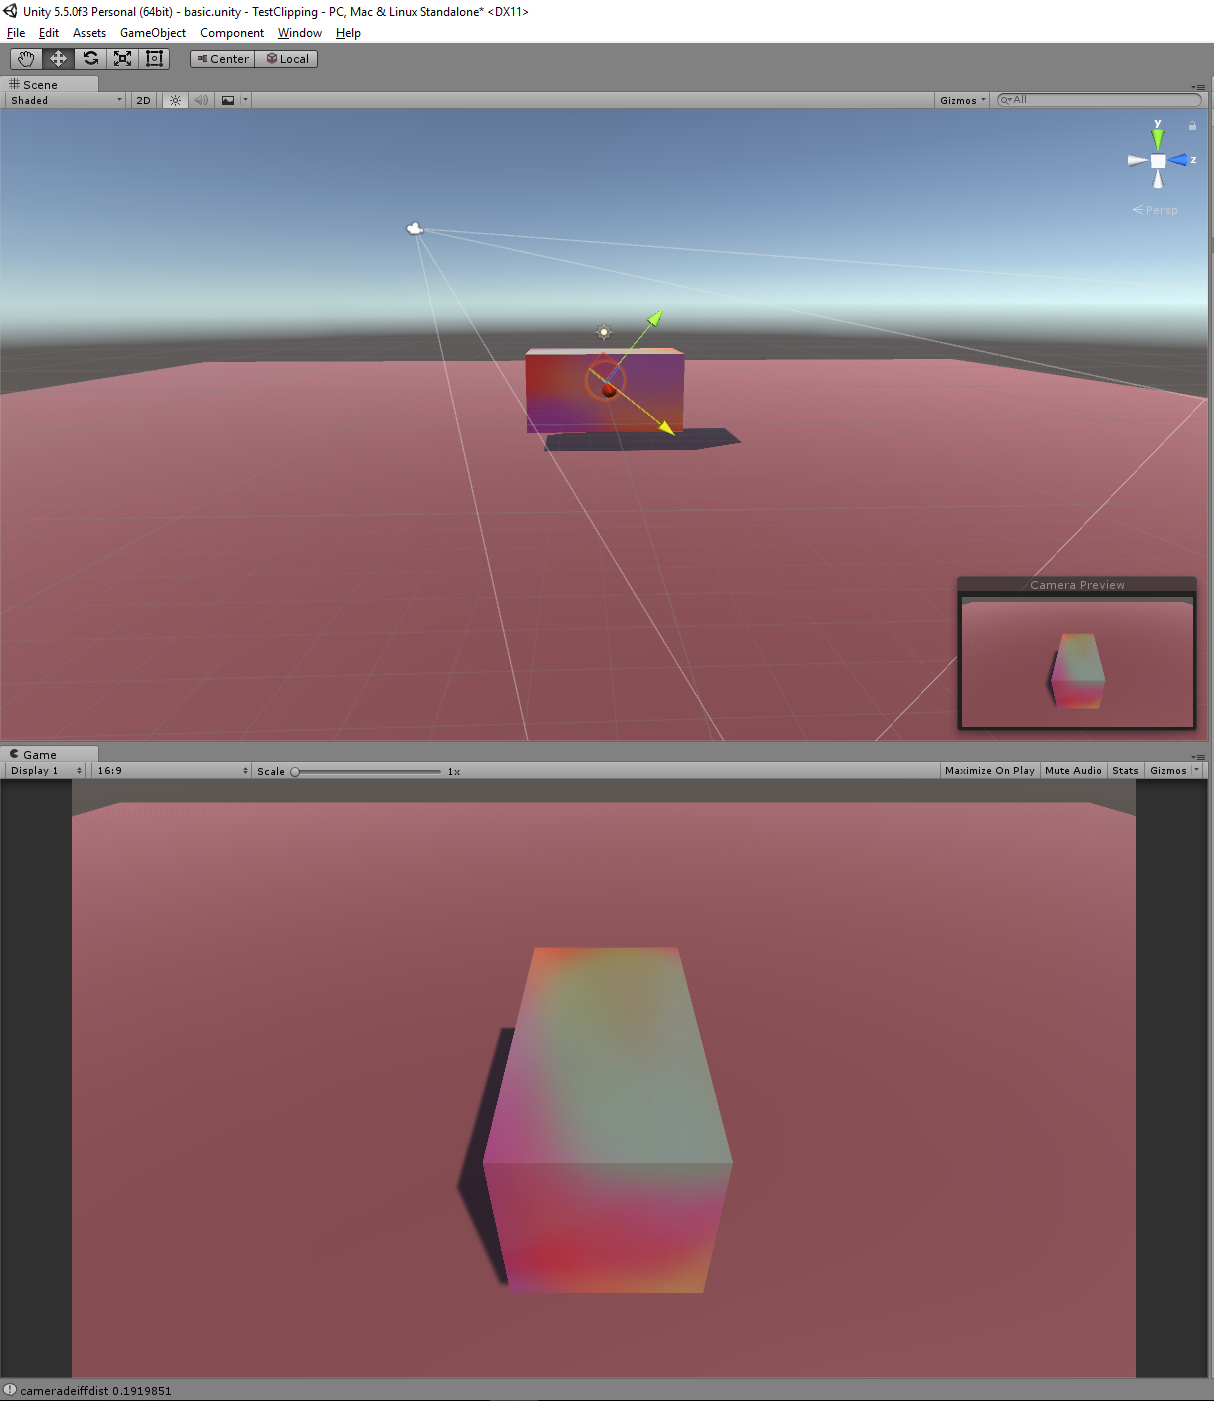
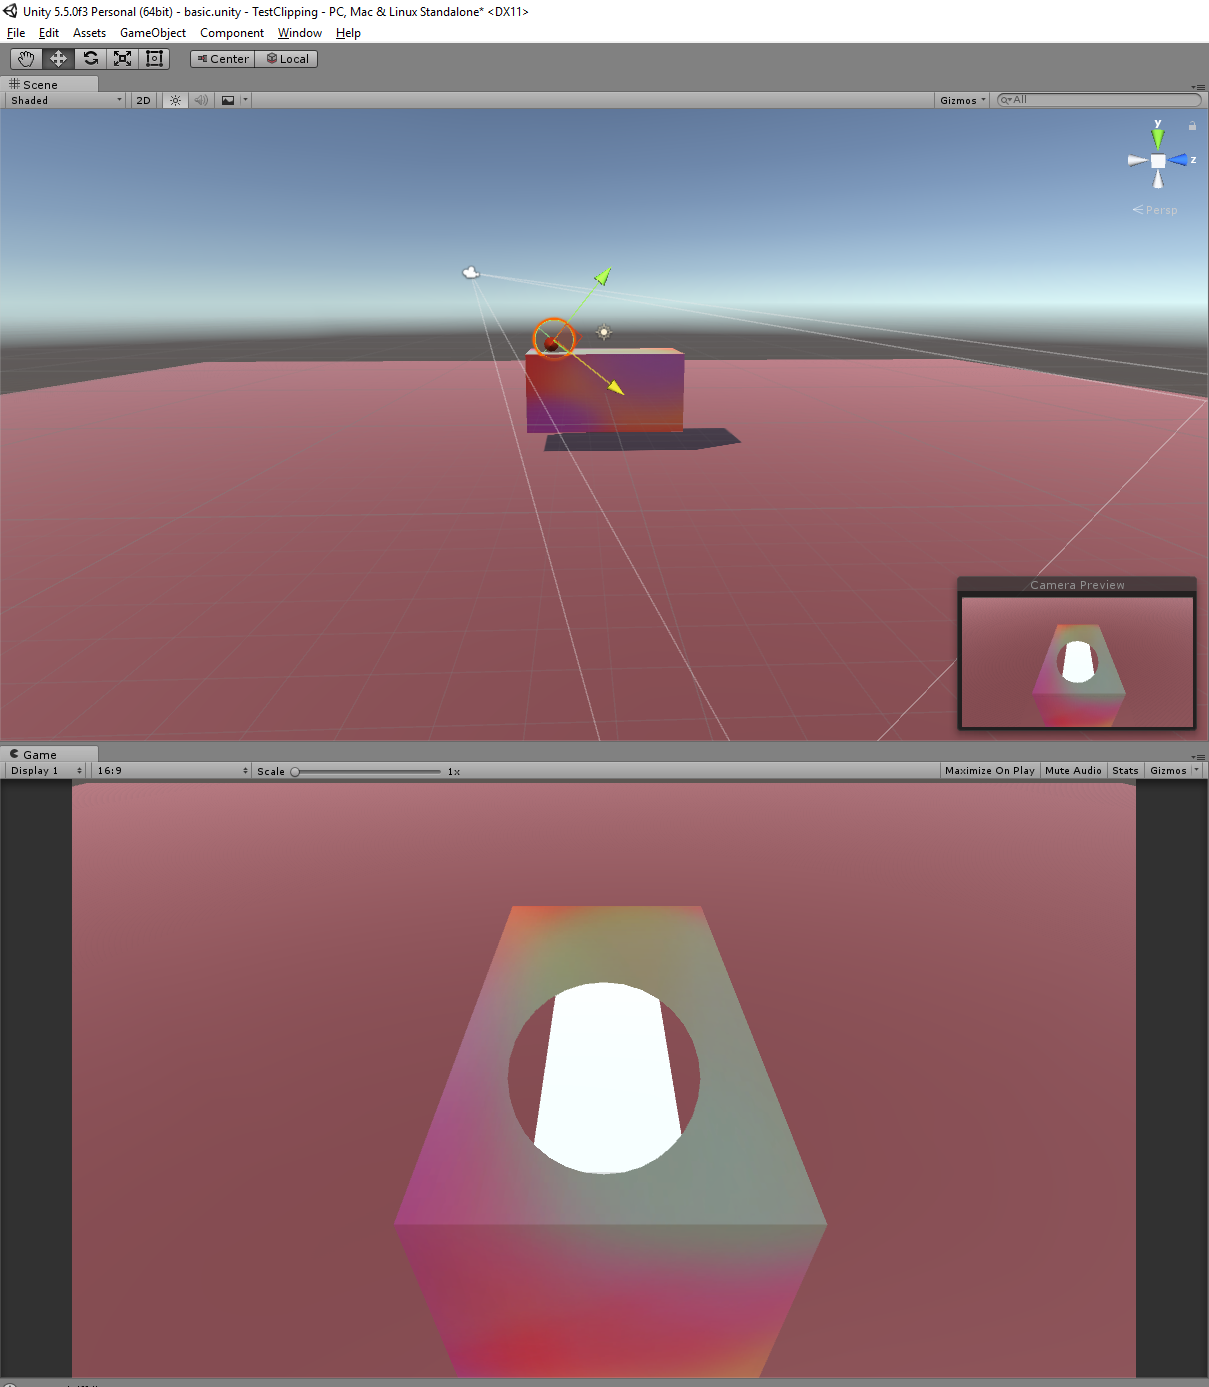
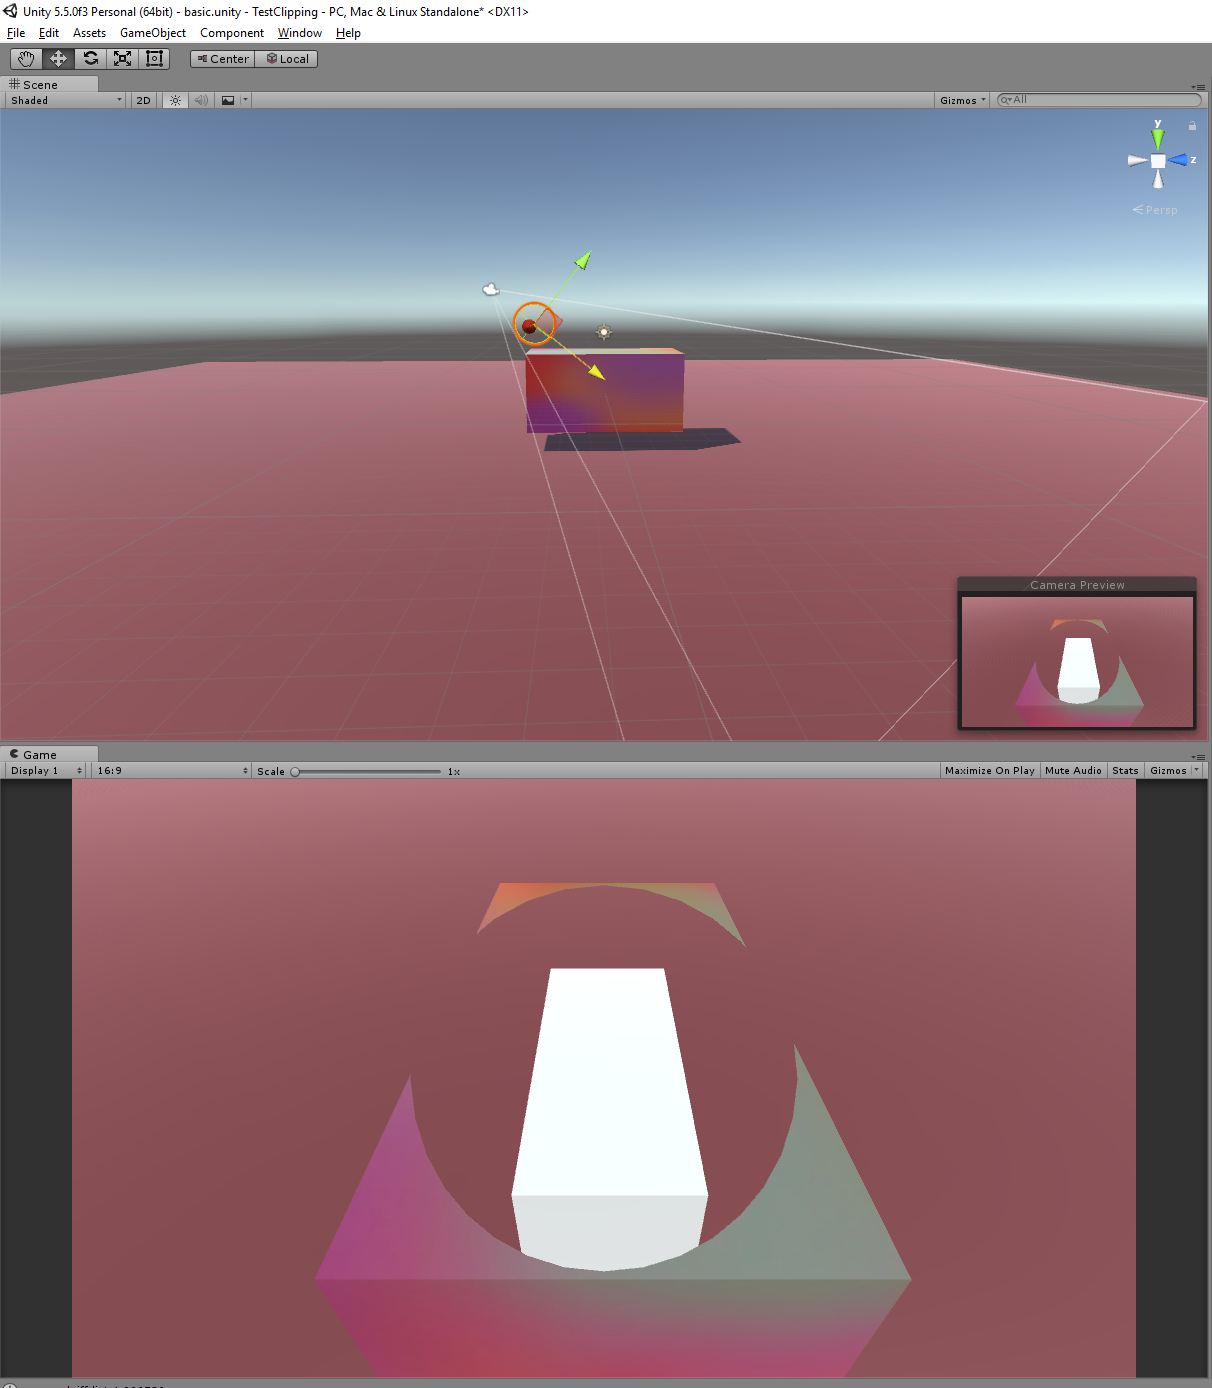
The Vuforia framework supplies the image recognition, and at the same time an easy set up of the camera in the scene. Then, with these simple (but twitchy to implement smoothly) steps below we achieve the X-ray effect. This is the same principle as when rendering boats in the sea (where the sea should not be rendered inside of the boat hull), or by other means modifying large vertices without actually cutting and slicing meshes in real time, which could be extremely slow to calculate. It all comes down to some clever modification of the Z-buffer (how close the nearest item is per pixel) and in what order all items in the scene are drawn.
Challenges and Obstacles
General graphics
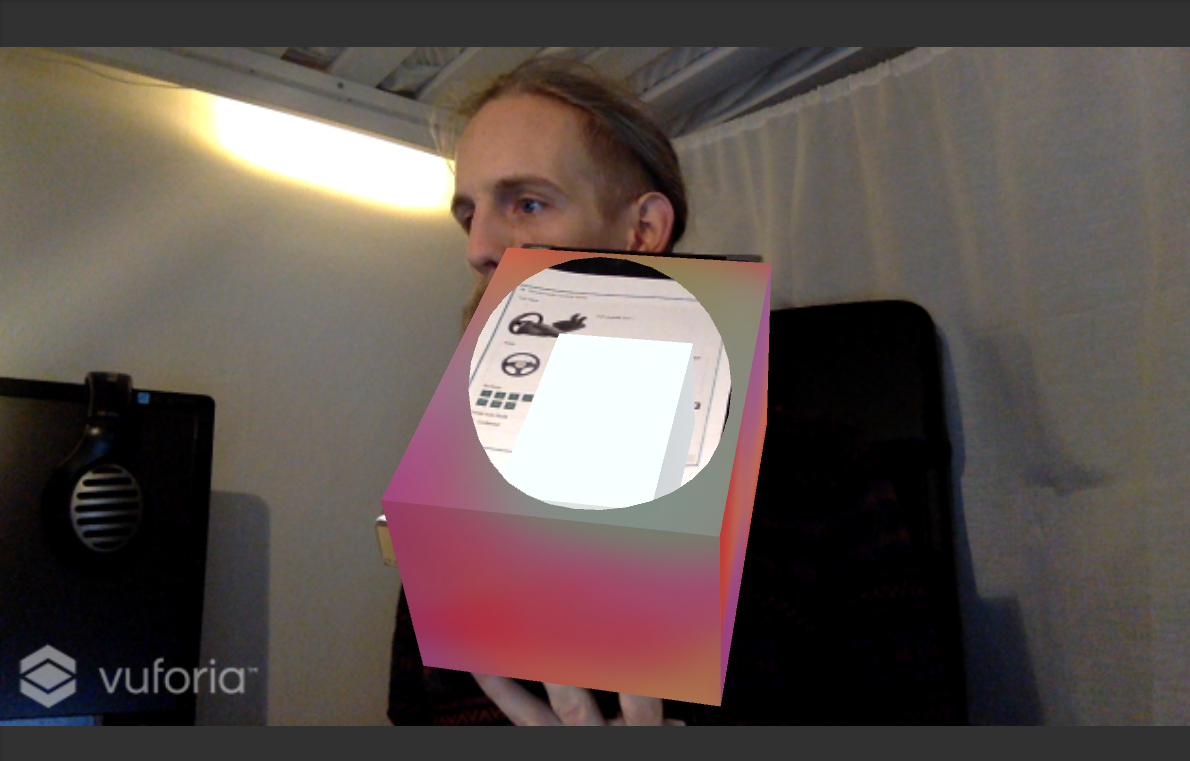
Difficulties was, among a few expected beginner first use errors with Vuforia, obviously getting the looking glass depth buffer modifications to become stable. Getting the size matching of the real world sarcophagus and the rendered image in the app to match up was critical, because the app should enhance the content of the viewport. Aspect ratios prooved really important, and before it really matched up the app felt really bad to use, but as soon as the sizes was right, all those user badness resolved.
Interaction
We discussed where to put the button and slider in the user interface, and we tried idea where the UI gives the impression that the button and slider is located on the table next to the sarcophagus. This involved some more quite unintuitive graphic hacking, and some confusion to which way to solve it led us to a couple of different solutions. On the positive side, we learned more graphics.
Collaboration in Unity
Using GIT with the right configurations from the start really helps, and we did most of the decide-once-then-follow decisions at the beginning of the build, and actually followed our set of rules. But, regardless of this, binaries in Unity works quite bad, and the (now) built in feature of Unity Collaboration did not work out, so we dropped it for this short project.
How does it work?
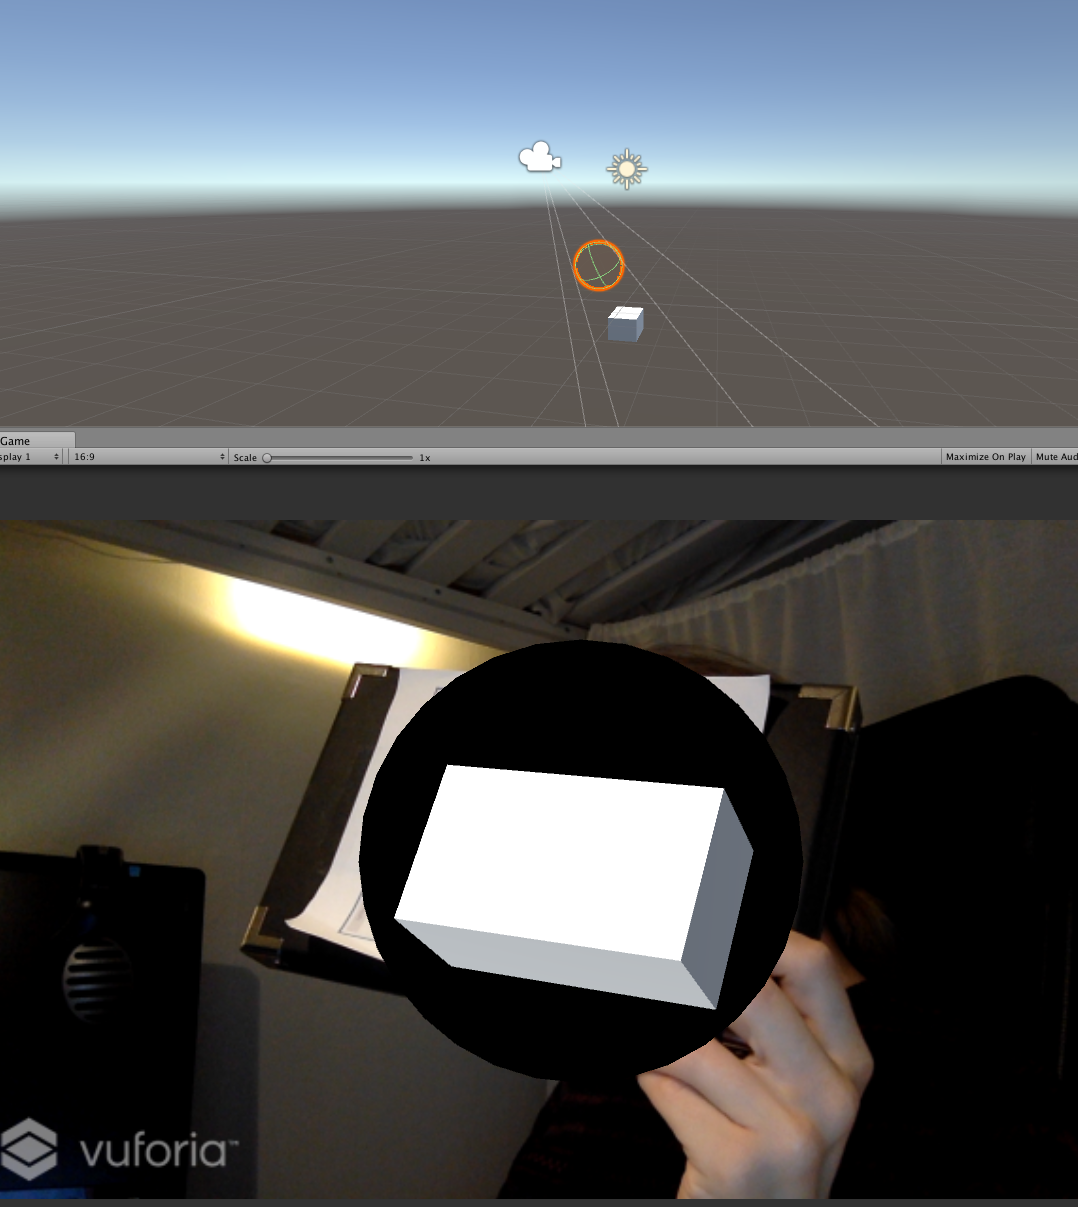
- 1: Move the video screen layer close to the camera view port, and render it to both the color and the Z-buffer.
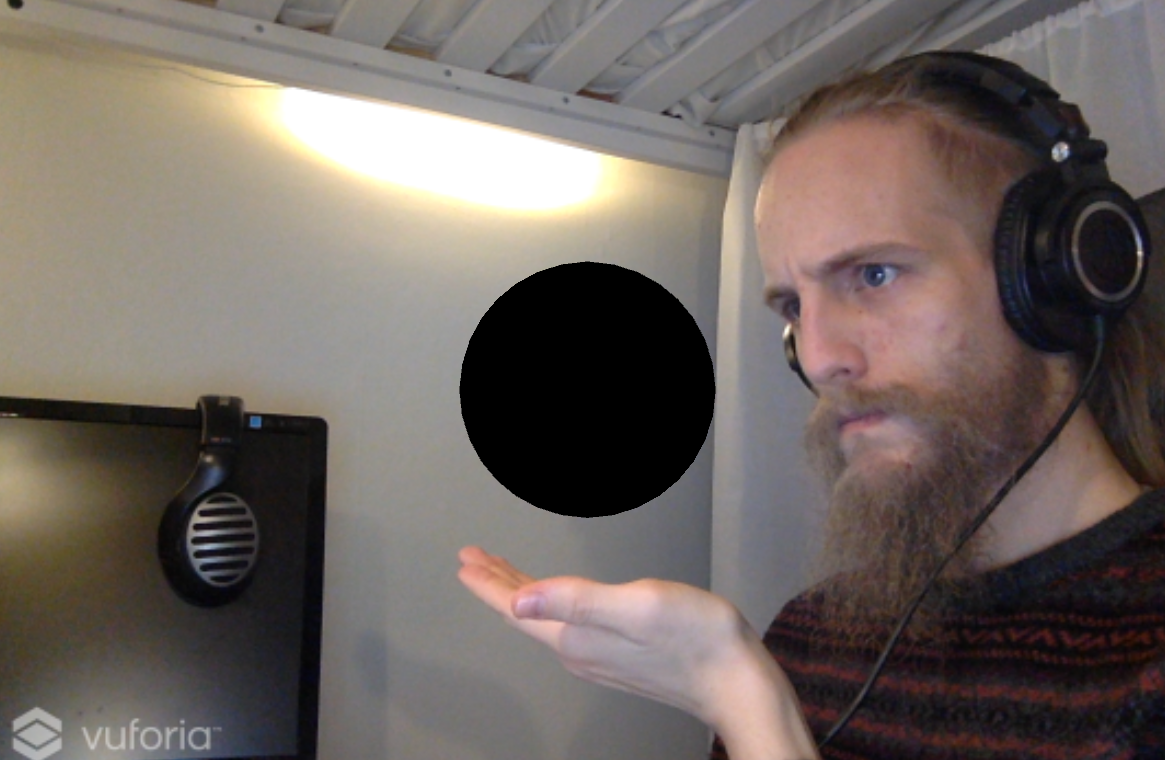
- 2: Render a sphere only to the Z-buffer far away in the distance, with its' size relative to the distance to the camera and the position of the sarcophagus. Because the sphere is rendered only to the Z-buffer and not to the color buffer, this "punches a possible hole" in the already rendered video layer, where we get a hole to peek through (render new things behind it).
- 3: Render the slider bar and green/red button that make up the user interface controls, not caring about the Z-buffer. These will therefore be rendered over the videolayer.
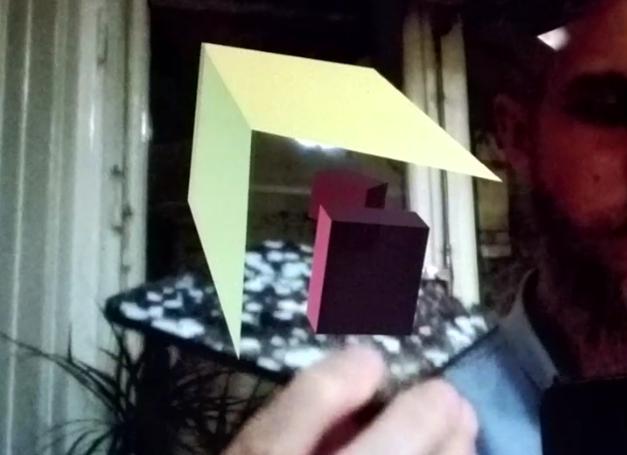
- 4: Render the inside of the sarcophagus (a box with normals inverted) and the mummy, Because we check the Z-buffer, we will render new information only where the mummy and the box is closer to the camera than what is already in the Z-buffer. Thanks to the "invisible sphere" rendered far away in the distant in the first step, anything rendered inside of this circle will be visible in the looking glass.
- 5: Render the looking glass, and some particles to give a more pleasing user experience.
Instructions and demonstration video
Try it out!
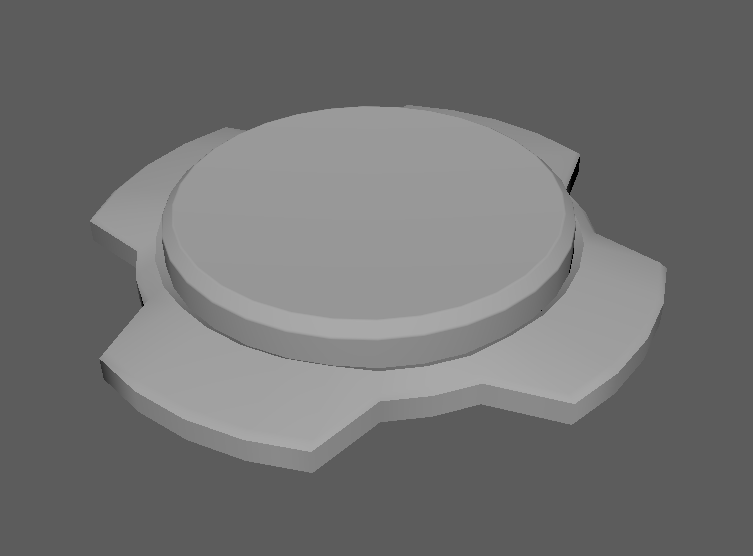
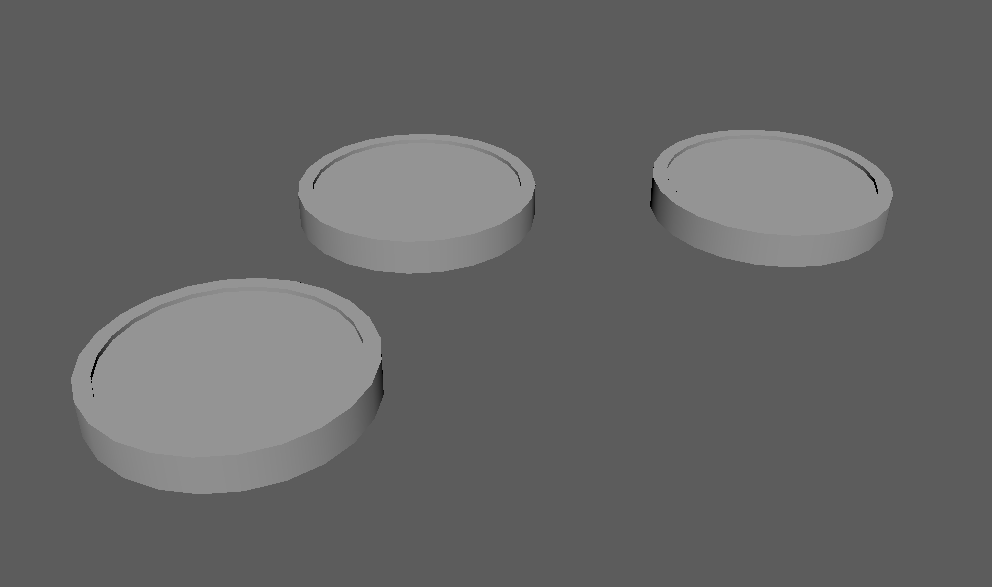
Print this picture and put it on a box: Tracker image
Get and run the Android App: Download
When the app is running, use the camera to locate the tracker image. A looking glass should come visible when moving closer to the tracked image. The slider on the side changes what layer is visible of the mummy. The green button takes away the looking glass, and when moving really close you now cut through the mummy and can see through the sub layers.
The Team members with interaction {I} and graphics {G} contributions

Shaders for modifying the Z-buffer and carving into the sarcophagus {I}{G}. Modeled the looking glass (and a banana), and created the particle system around it {G}. Looking glass size {G}{I}. Construction of this web page and writing the "making of" documentary. Creating the tutorial video (With Erik M).


Image Gallery

This is a project in the Advanced graphics and interaction course in the VIC Studio at KTH.
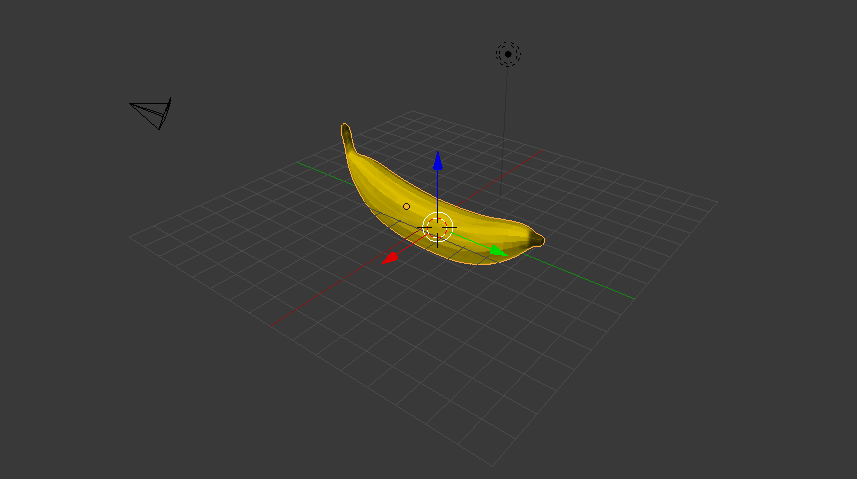
In the beginning: Bananas
This project started off with a completely different idea that was soon abandoned. The first project proposal was to make an app that challenges your perception of size. Unfortunately, because the project should be about Augmented Reality and we could not find any real application for the use of AR in the project, it was scrapped and we came up with something else. It did however lay the foundations and helped us come up with ideas for what was later to become sARkofag, and it's features. In short, it all started with a banana.
sARkofag
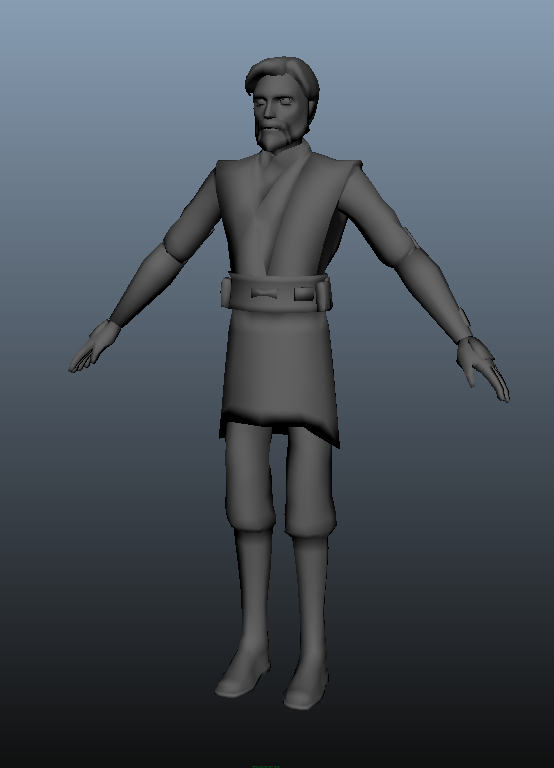
The first prototype of sARkofag was put together extremely quickly as an exploit of how the camera planes are handled in 3d graphics, but it actually convinced us that this could really be done, and that there is use of AR in this context. The basic idea all boils down to being able to see what is inside of another object, without opening it physically. The app lets you sneak peak inside of an object, without touching it. See but not touch, level 2!
Further developement, and building from scratch again
We had a working demo, but now we wanted to do some real mesh cutting, so Ingemar began developement on a shader based implementation with some clever rendering order modifications. The first version worked something like this:
- 1: Render a sphere to the Z-buffer (but not to the color buffer) near the camera with position and size relative to the distance to the camera and the position of the sarcophagus. Usually. Everything rendered right after this will be rendered "around but not in" the sphere circle.
- 2: Move the video screen layer close to the camera view port, and render it to both the color and the Z-buffer. Usually, objects are only rendered if it is closer to the camera than the already closest rendered object. Because the sphere from step 1 might be closer to the camera than the video, there might be a hole in the video now.
- 3: Render the (soon to be) sarcophagus box.
- 4: Render a sphere far away in the distance (and dont consult the Z-buffer), with its' size relative to the distance to the camera and the position of the sarcophagus. This will overwrite the video and box layer with a black circle.
- 5: Render the box inside the sarcophagus
This solution was not that very flexible, but it shed some light over the problem. The goal was to make it a two layer solution, where everything regarding the sarcophagus and its contents could be rendered with standard (or custom translucency) shaders in the regular geometry pass, which could make for future modification of the model without having to rewrite the whole rendering order for the mesh cutting.

A short side note on the next iteration of shaders
After finishing the first prototype of rendering setup, analyzing pros and cons of it, and thinking with pen and paper, a few modifications was made. The complexity was reduced to only using one depth mask sphere, and actually removing the front depth mask took away the black circle, giving the impression that two layer solution we were striving for. The prototype now performed according to our specifications. Ingemar was pleased. But still no banana.
Interface design can be messy
We then sat down and had a brain storm about what we wanted to show in the app, and how it should look and feel. We also thought about and discussed what controls to have and where to put them. It turned into this scetch. We wanted to be able to switch between different layers of the mummy, so a slider were planned for this. We also wanted to keep the ability to cut through the different layers and switch back and forth to the looking glass, so of course we needed a big green/red button. We also wanted to try something a bit different, so the controls were "placed on the table" next to the sarcophagus. An idea was that we could do some clever image recognition and detect an arm in the picture pushing the Augmented button on the table physically. But when thinking a bit more, it would be quite difficult to actually use it, so it was left for future studies.

Models
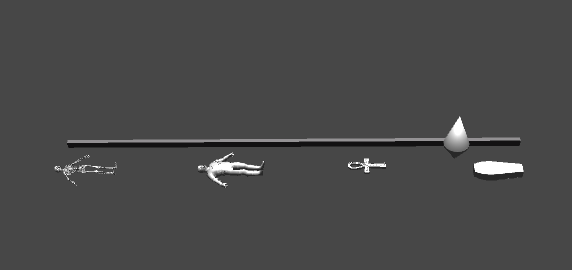
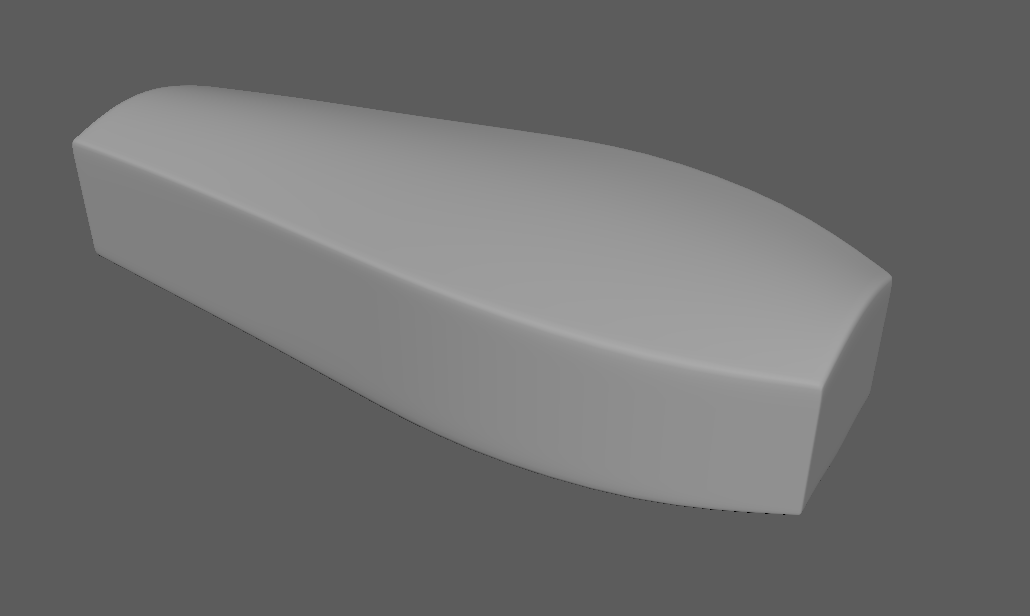
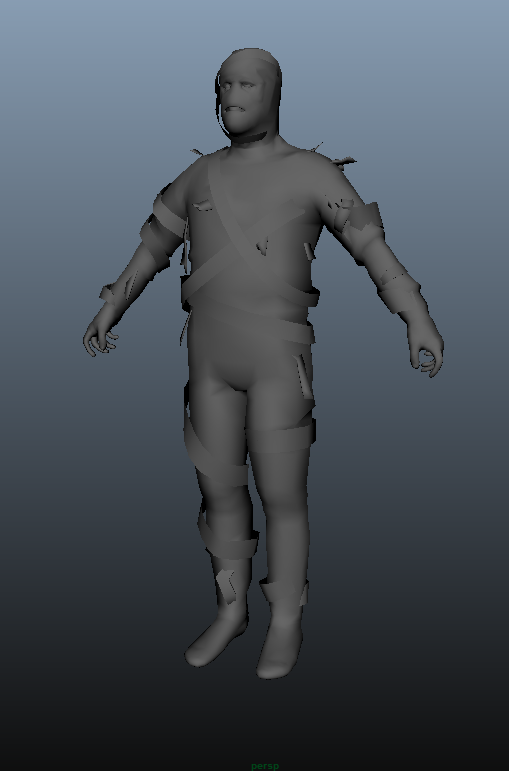
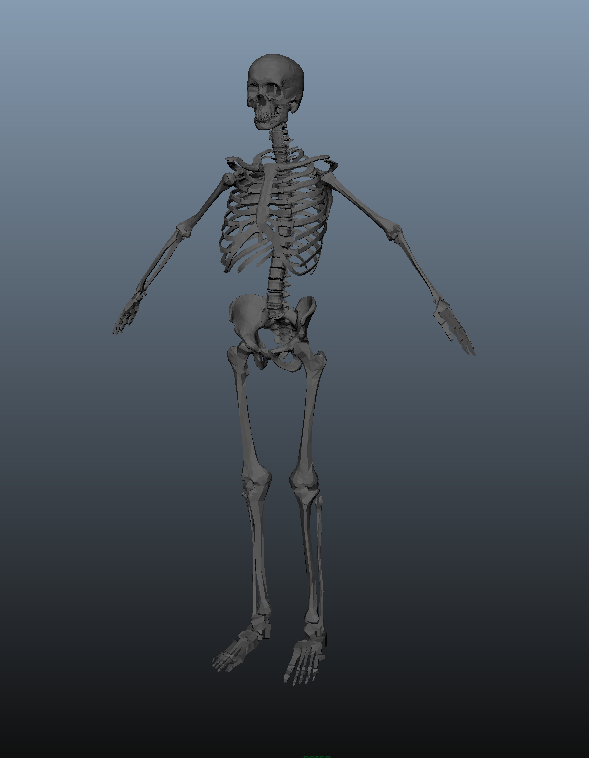
We needed a mummy, a "something" inside of the mummy, the sarcophagus and some treasures that would be inside of it. In short one could say there were two runs in the modeling phase, where a first tier of the absolute nessessary models were created, and then a remake of them were done to the final version. They were either based off free-to-use models or created from scratch using a mix of programs, among others Blender, Maya, Photoshop and for the custom materials Erik M took a deep dive into Substance Designer, which is an extremely powerful program for creating realistic materials based on either the usual way with textures, or generating textures based of physical simulations.

Putting it all together!
(So, what about the banana?)
We did not forgotten about the banana, and for the record it hides out in the final release of the executable (try finding it)! Logic were written for connecting the UI controls to the switching of layers, and it might sound like a big history skip, but after some few hours of testing and the obvious fixing of obvious bugs, we came to the point we are today. It might have been thanks to Unity being kind enough to cooperate with GIT in very controlled manners, but there were never really any collisions that took precious time to fix. Below you can see the demonstration of the final app.
2017 © Ingemar Markström